This menu allows you to manage your layers:
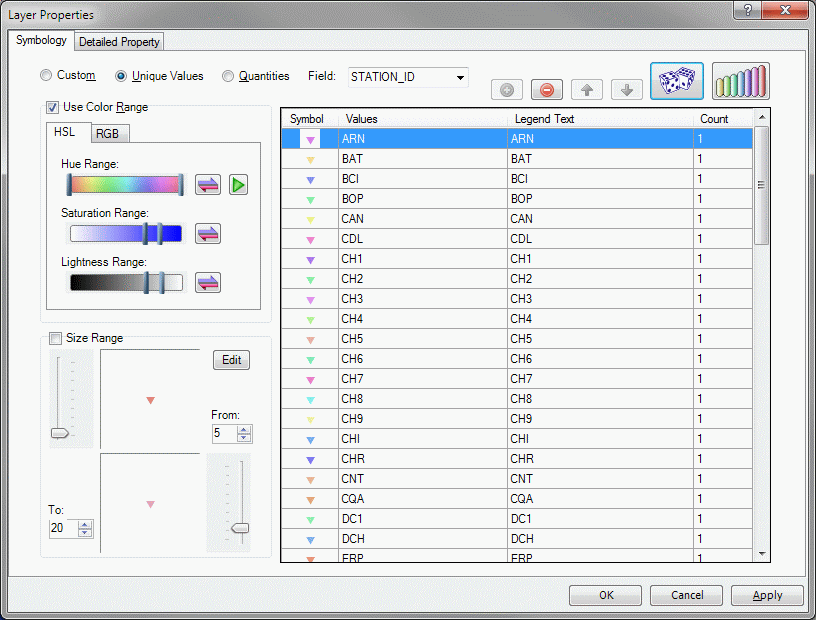
Properties: displays the powerful DotSpatial layer properties dialog:
Add layer: you can browse to a .SHP file and add it to your map. If the layer's underlying projection does not match that of the map (which is taken from the first non-lat/long layer loaded) it can be reprojected in memory before display. Because is can take some time to do this for large maps, it is preferred to get all layers in the same projection or use one of the Tools menu items to reproject existing files.
Remove layer: removed the layer from the map (the original file is not deleted).
Remove all layers: all layers are removed.
Show/Hide All: controls the visibility of all layers in the map; to show/hide individual layers, use the layer list on the form.
Expand/Collapse All: these items will display or hide thematic mapping schemes in the legend.
Move Top/Up/Down: this rearranges the drawing order of the selected layer; as a layer is moved "up" it is drawn later and thus overwrites layers below. You can also click and drag to rearrange layers in the layer list.
Web Basemaps: This feature allows you to display web basemaps (also called "streetmaps") with your normal GIS layers. You can select from the following:
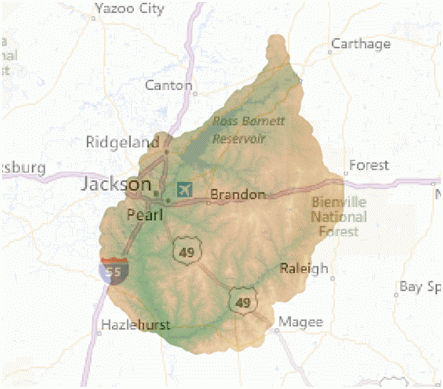
You can also specify the opacity of the map layer, which allows you to partially “see through” the map layer if it is on top of other layers. Of course you must have an Internet connection to retrieve the map tiles, and they can only be displayed in the Web Mercator Auxiliary Sphere (other layers will automatically be reprojected to match). An example follows:
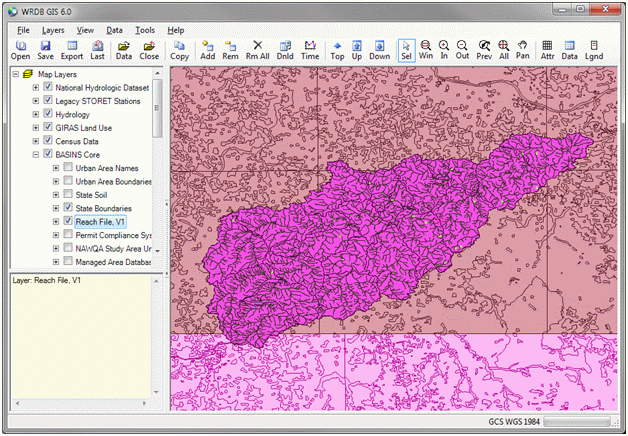
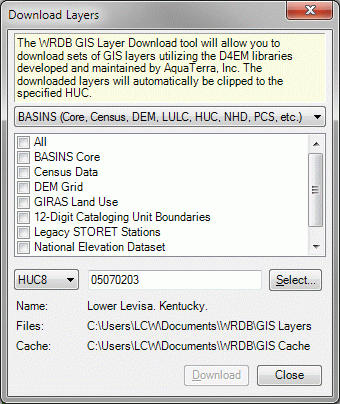
Download Layers: To facilitate the acquisition of standard layers in the United States, WRDB utilizes the Data for Environmental Modeling (D4EM) library developed for EPA by Mark Gray of Aqua Terra. Currently, three categories of downloadable layers are supported: BASINS, USGS, and NHDPlus. Each of these categories has a number of specific layers that can be selected for download. The form looks like this:
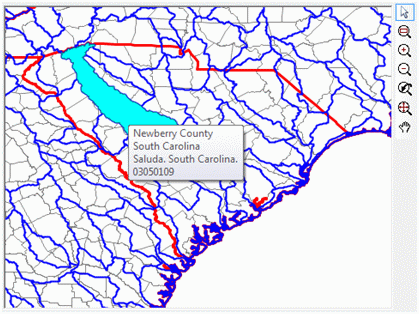
Layers are automatically clipped by 8-digit HUC boundary. You can type the HUC code or select it using a map by clicking the Select button:
Layers are downloaded to a cache folder, and then extracted to a layer folder. These folders are specified using Tools | Options. When the Download button is clicked, the data are downloaded and stored in the cache folder, extracted and reprojected in the layers folder, and then added to the map. Layers are automatically named, grouped, and themed based on standards adopted by BASINS. Some grid layers that are downloaded to not have correct projections assigned, so it will be necessary to assume either the WGS84 or Albers Equal Area Projection. An example image appears next: